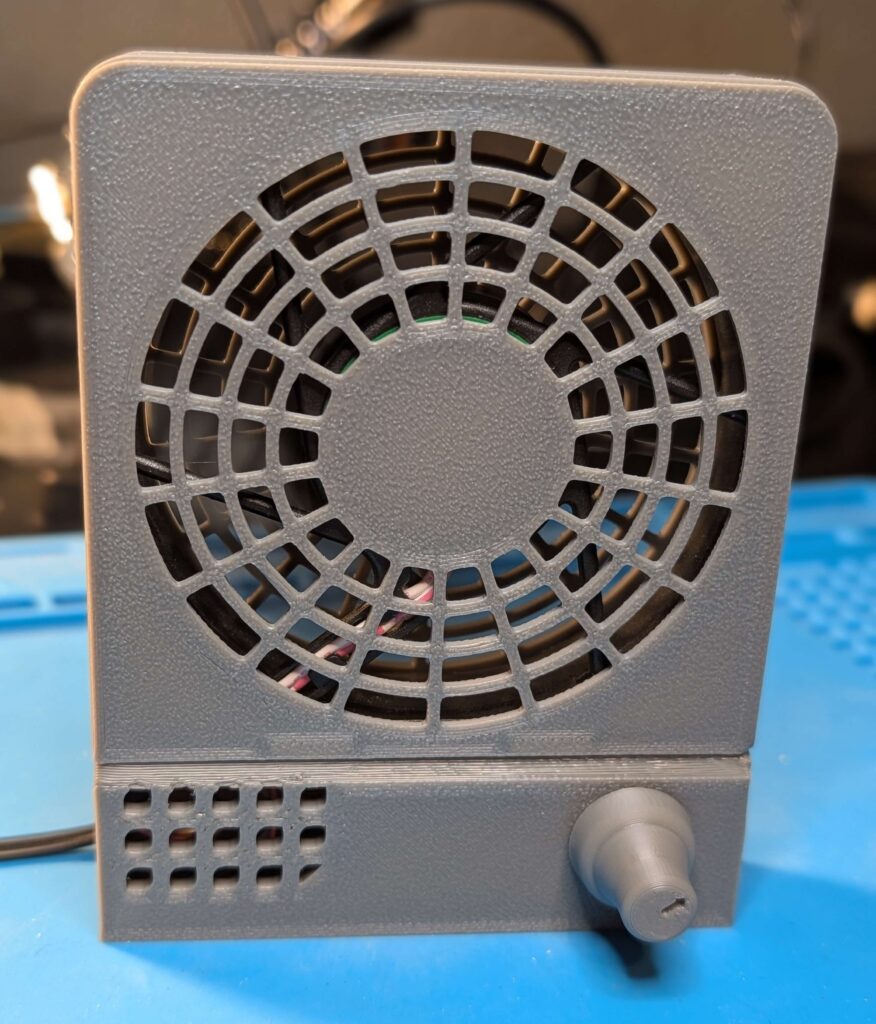
Soldering is an essential part of many DIY projects, but let’s be honest—those fumes are no joke. Back in college, my teacher drilled this into my head: “Don’t breathe the fumes; they’re full of heavy metals and bad for your health!” That advice stuck with me, and now, after all these years, I’ve finally built a soldering fume blower to help keep the air clean.
This little device not only blows away fumes but can also be flipped to extract them out of your workspace entirely. Plus, it has a handy speed control knob so you can adjust the fan to your liking. Building it was such a rewarding experience that I’m excited to share it with you!
What You’ll Need
To bring this project to life, you’ll need the following components:
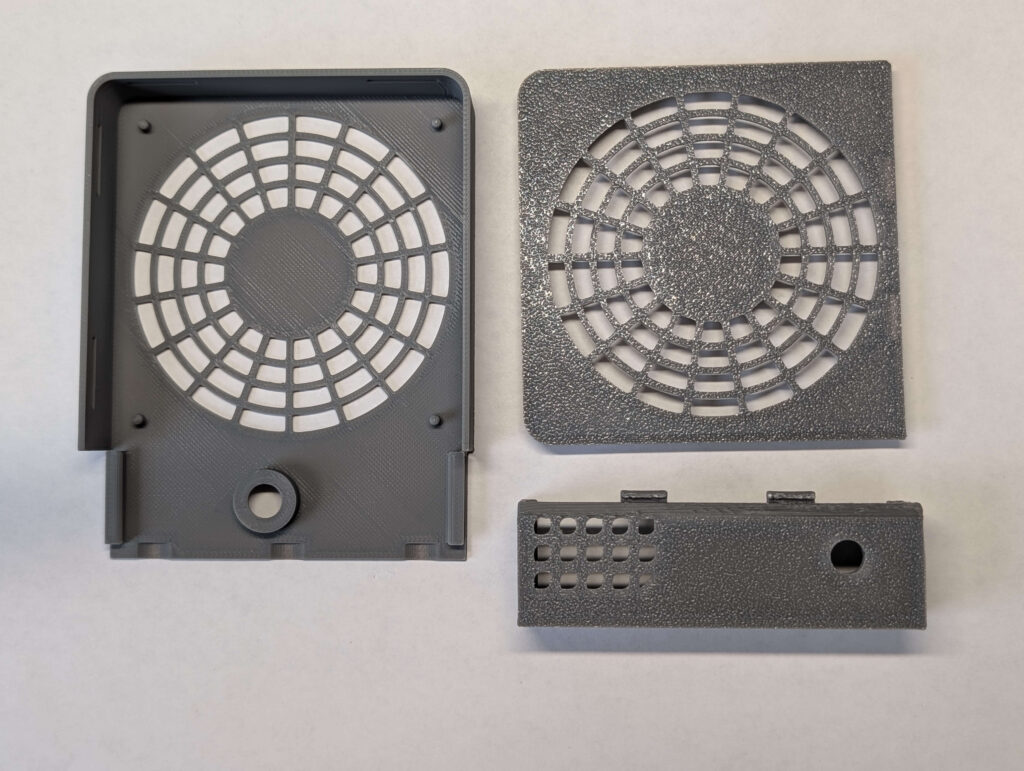
To house these parts securely and stylishly, you can 3D print a custom-designed enclosure:
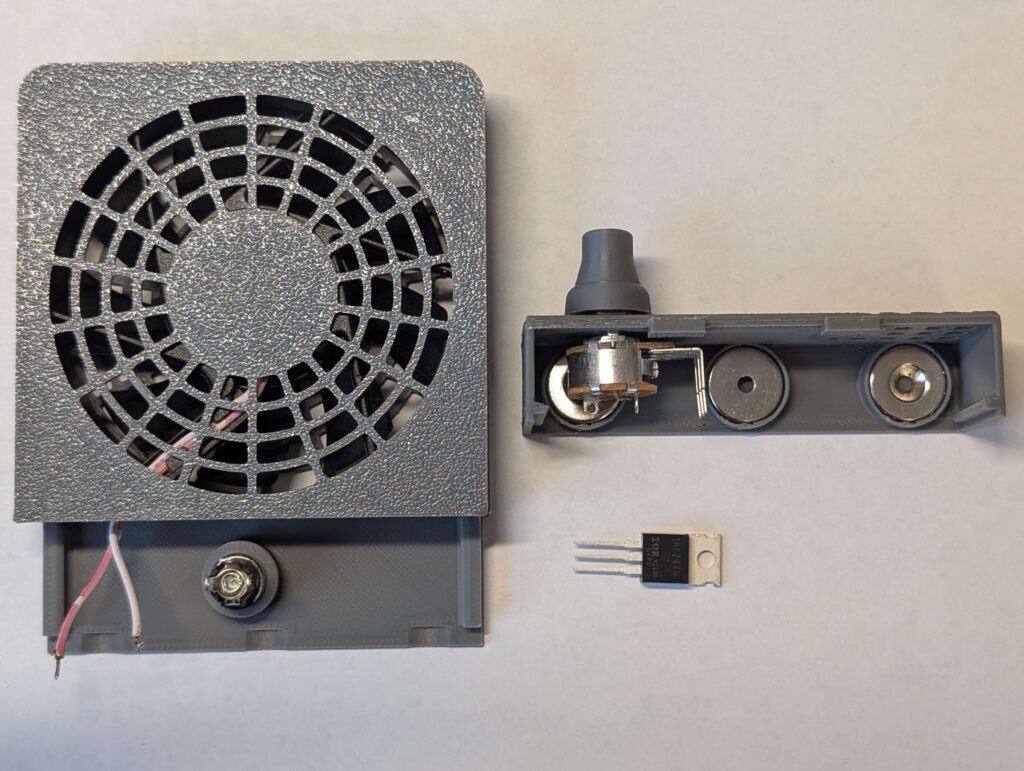
Here’s what the printed parts look like:
Building the Circuit
The fume blower is powered by a simple circuit. Here’s the connection diagram we’ll follow:
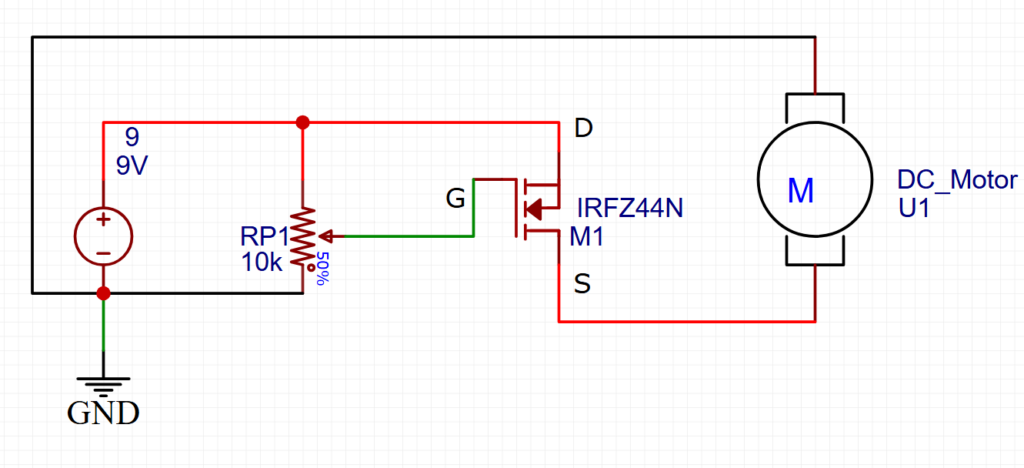
Let me break it down for you:
- Power Supply (9V): I used a DC power supply that was collecting dust at home, but you can easily use anything from 9V to 12V.
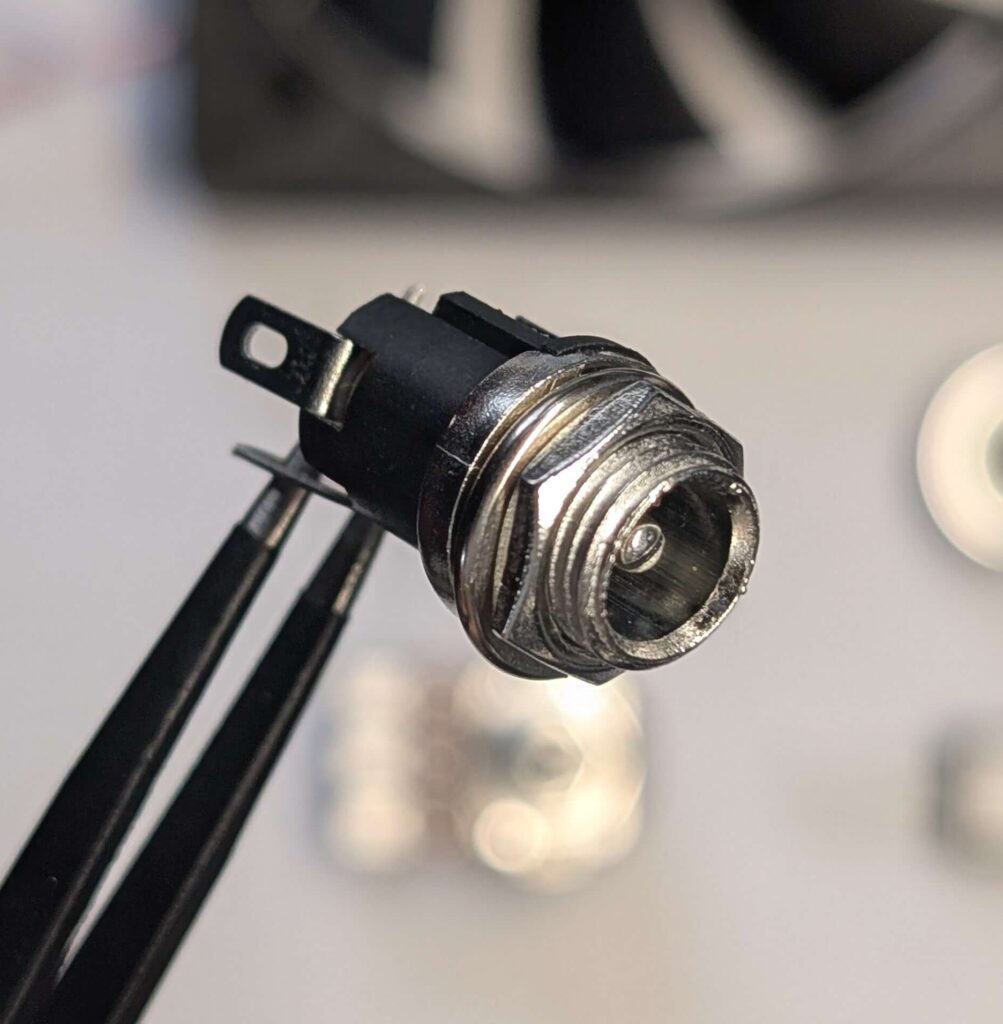
- Female Panel Mount Connector: This makes it super practical—you can connect and disconnect the power supply with ease.
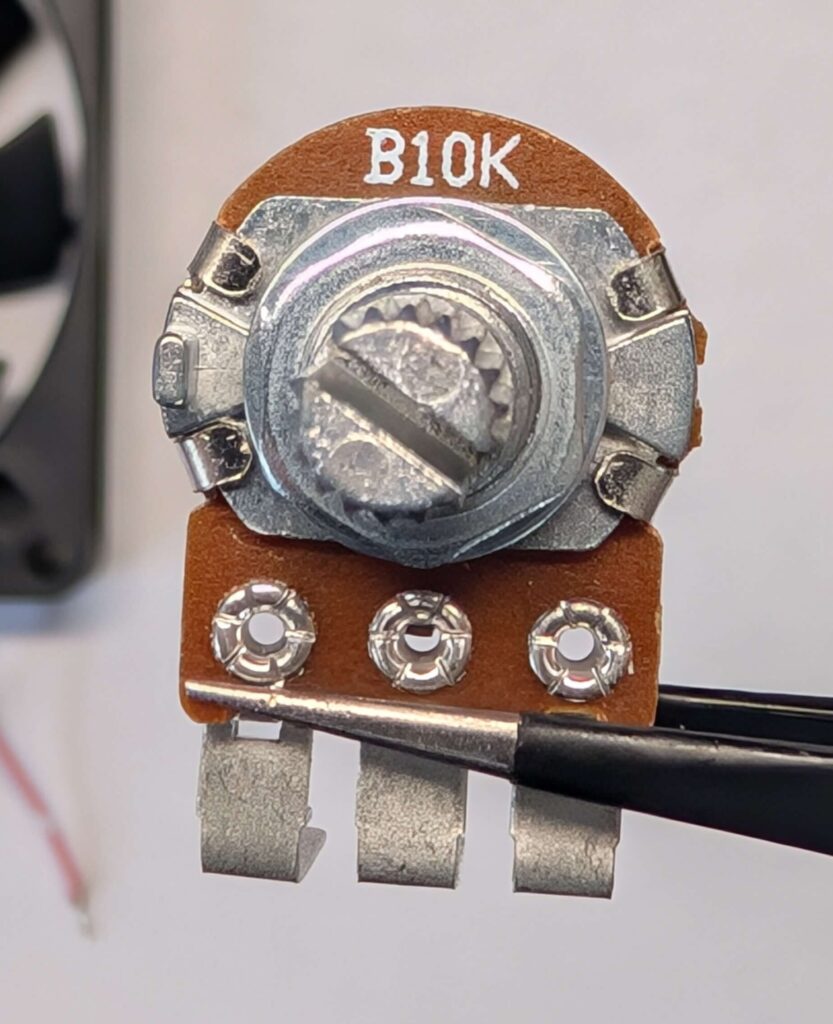
- Potentiometer (B10K): This acts as the speed controller. By turning the knob, you adjust the voltage going to the fan. It’s connected to the MOSFET’s gate.
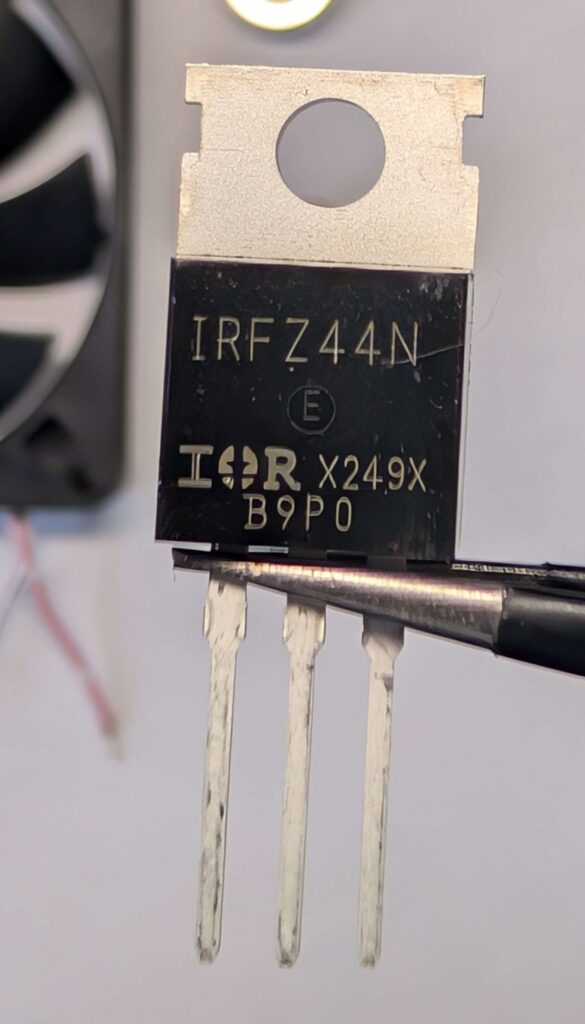
- MOSFET (IRFZ44N): Think of this as the faucet, with the gate being the valve. The more voltage the gate receives, the more current flows to the fan, making it spin faster.
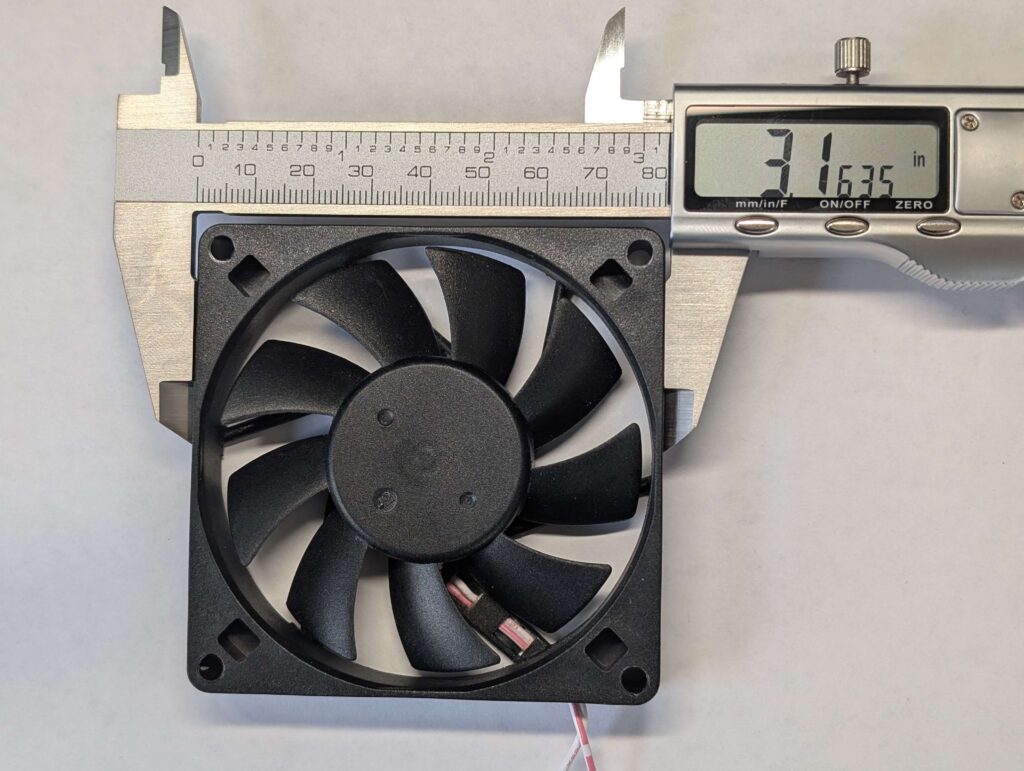
- Any PC Fan: You can install it to blow fumes away or extract them out, depending on your preference.
Assembling the Blower
1. Prepare the Enclosure
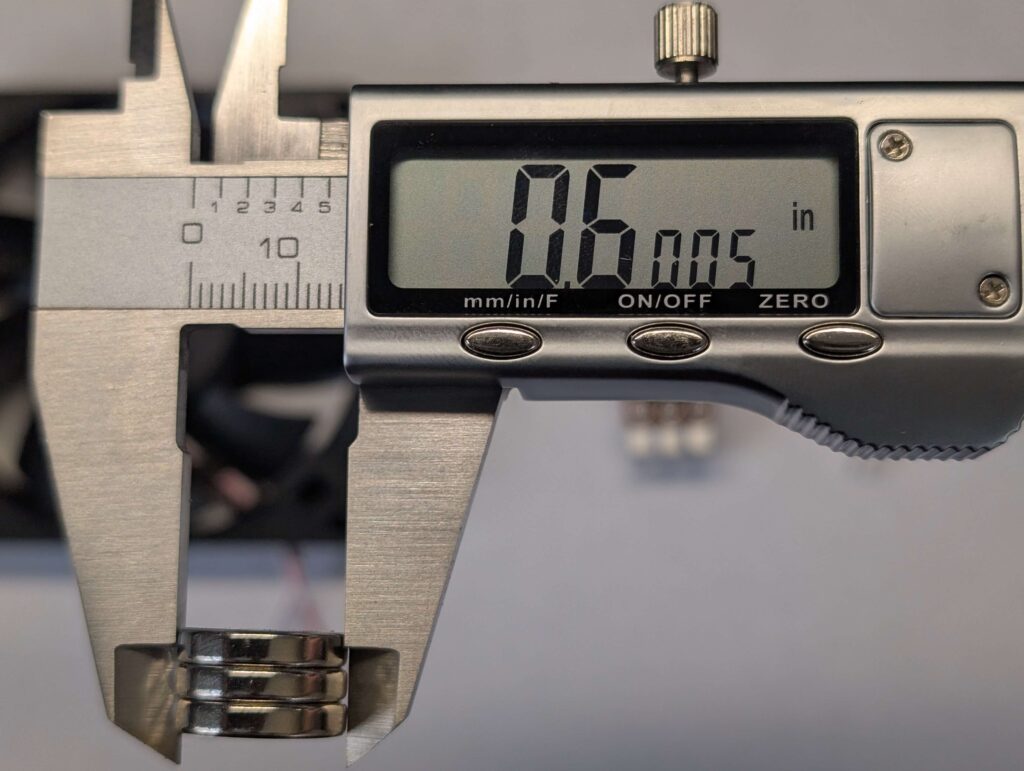
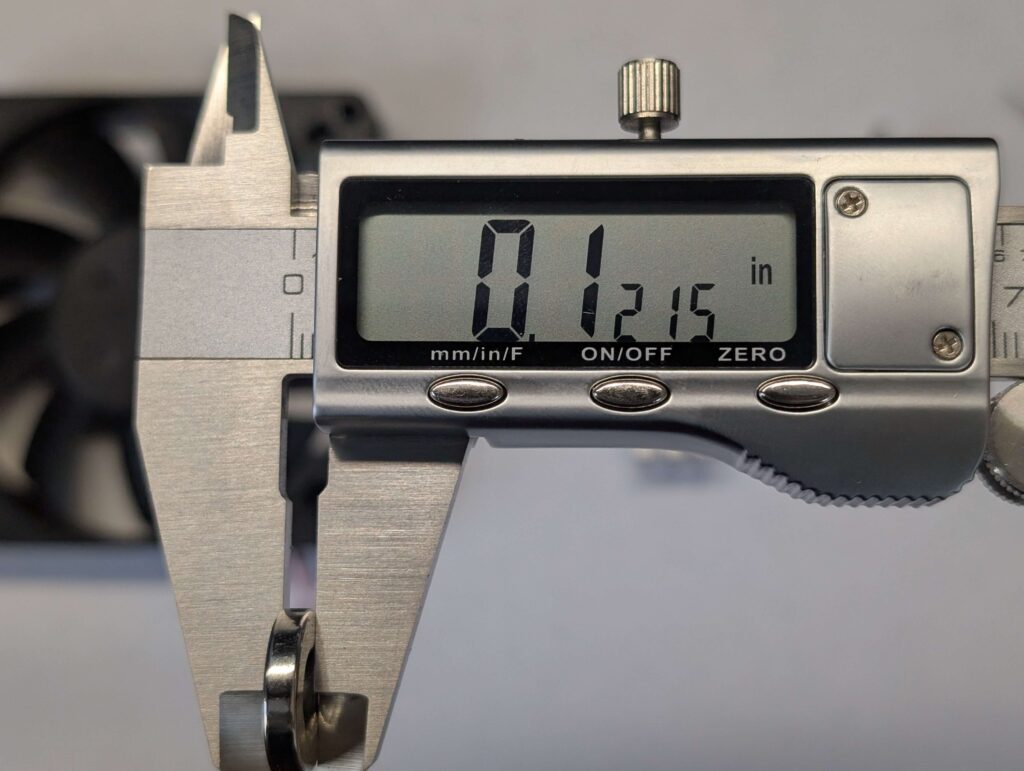
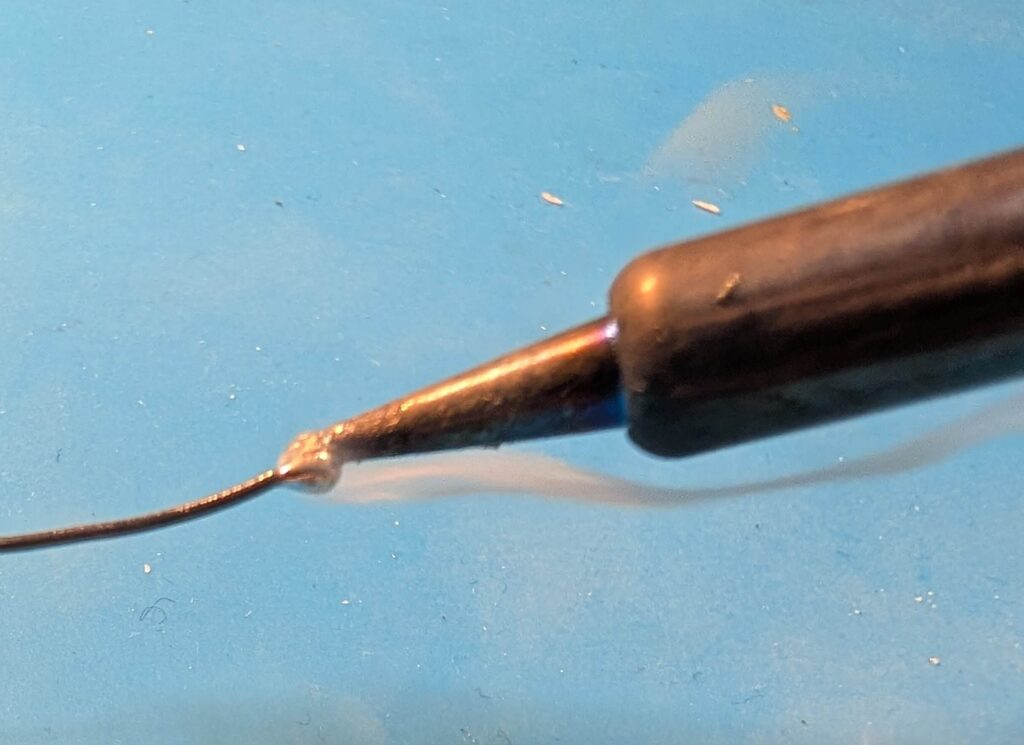
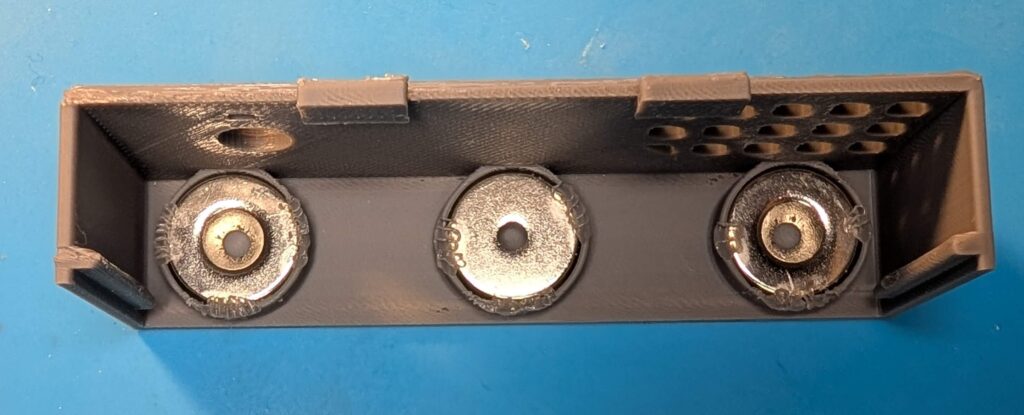
Before placing the electronics, install the magnets in the designated spots on the enclosure. Use a soldering iron to weld them securely into place. These magnets will allow you to attach the fan to any metal surface, giving you flexibility in positioning your fume blower.
2. Install the Fan
Mount the fan into the enclosure. Decide whether you want it to blow fumes away or extract them out before fixing it in place.
3. Add Electronics
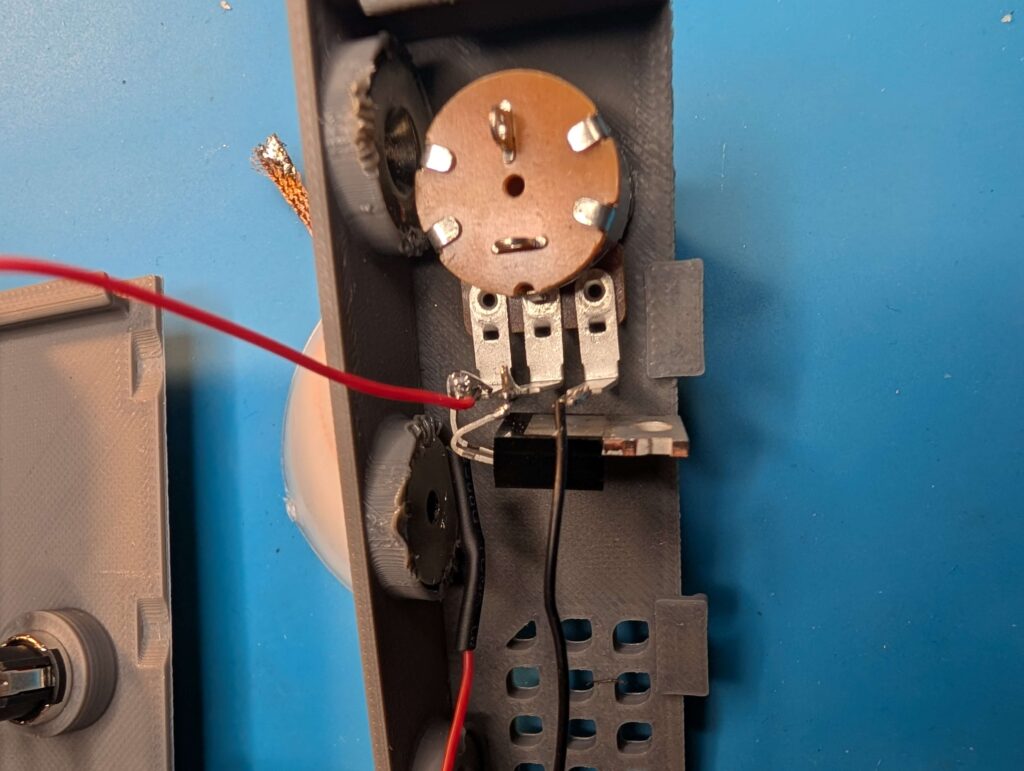
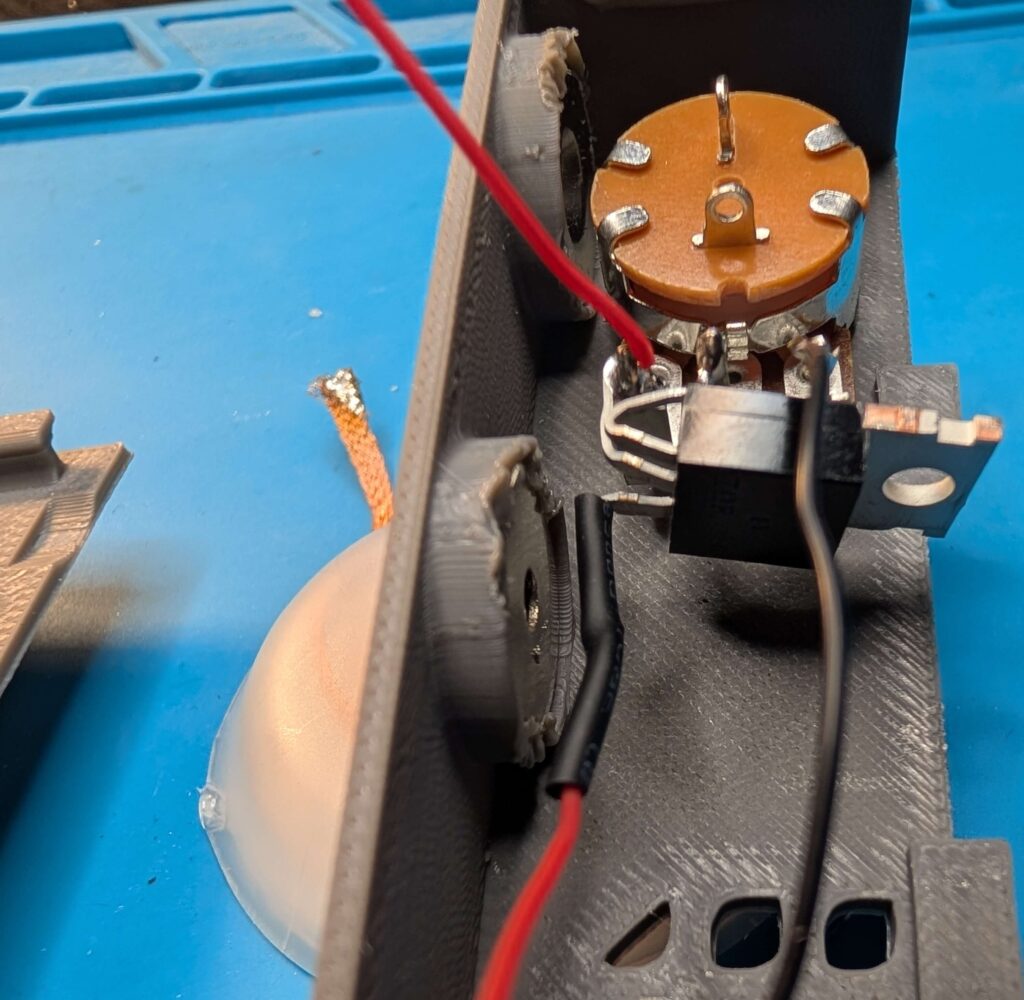
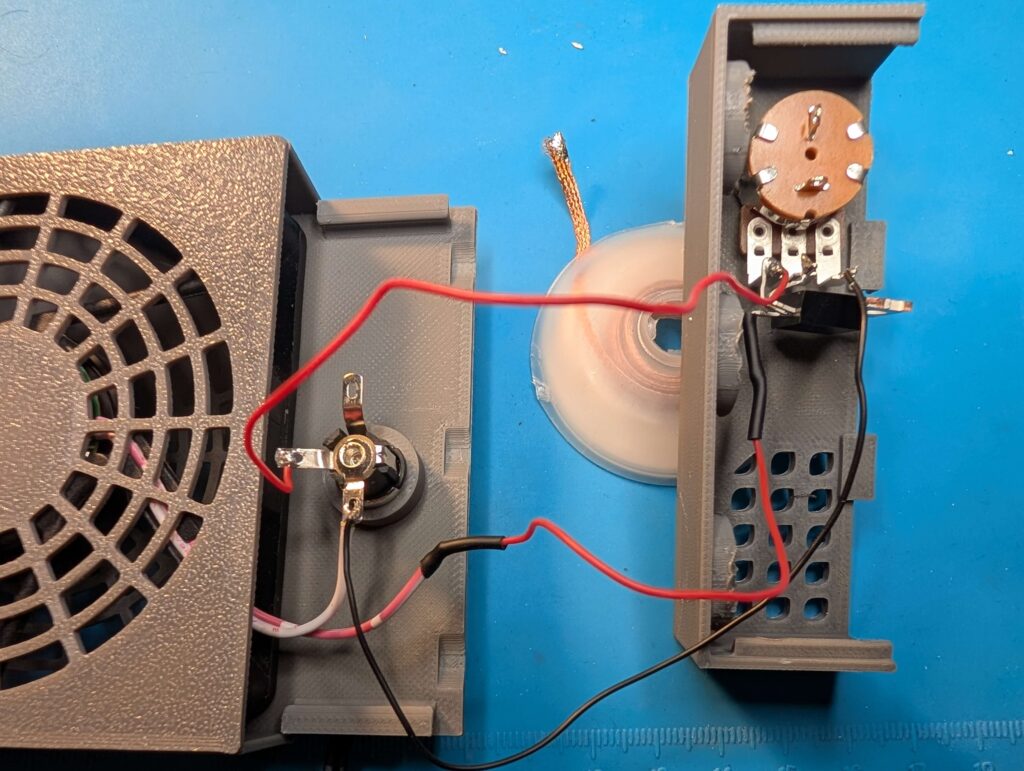
Once the fan is set, install the rest of the components. Here’s what it should look like:
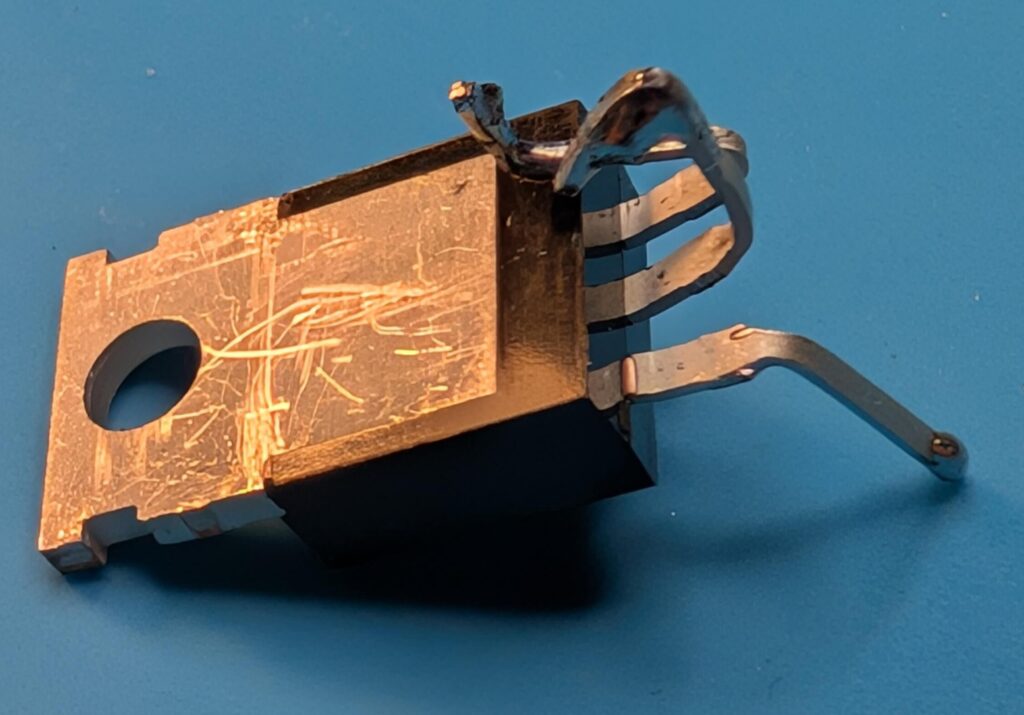
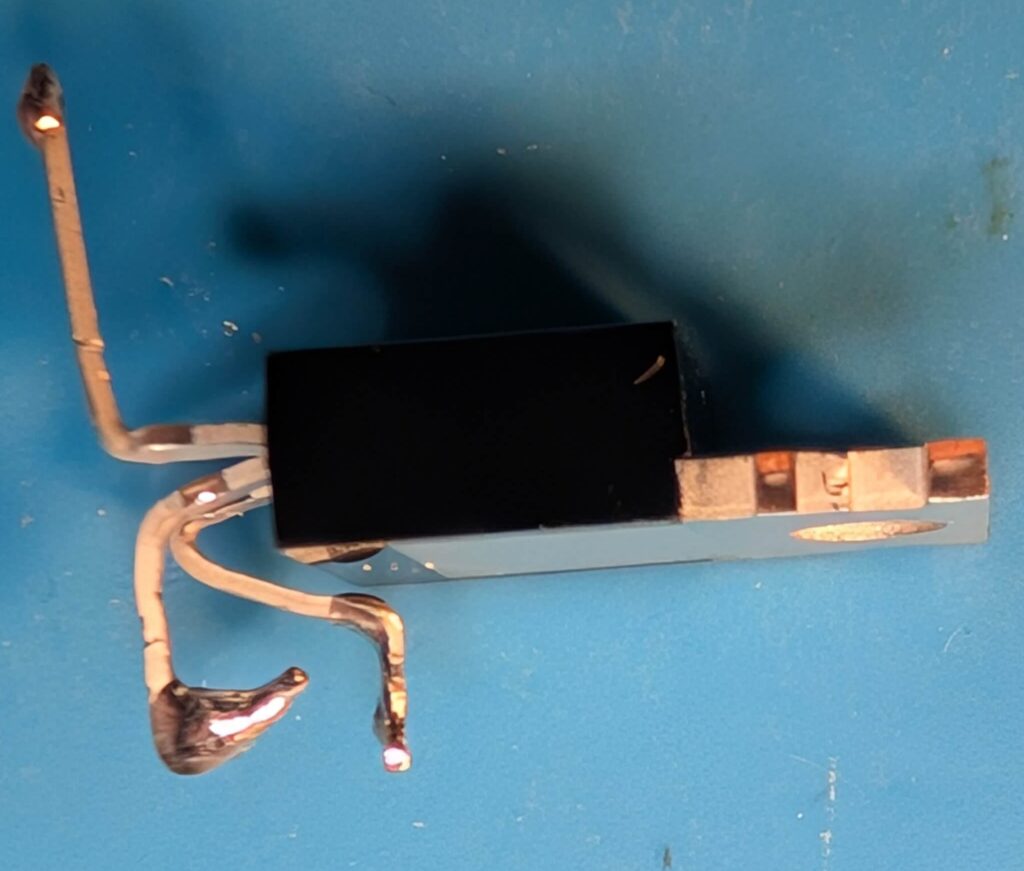
4. Bend and Solder the MOSFET
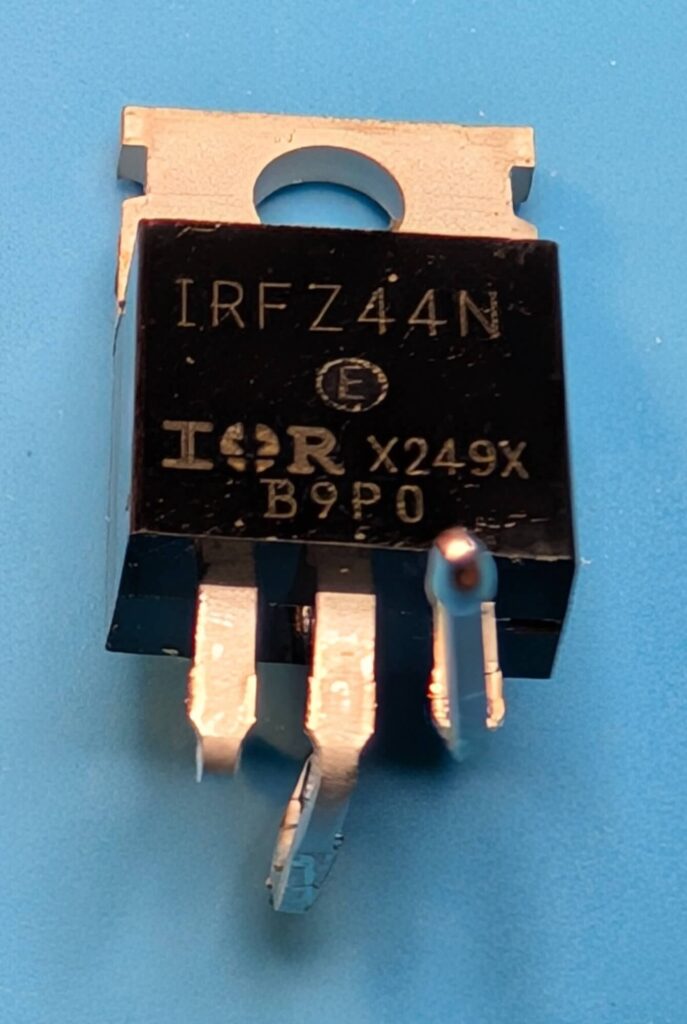
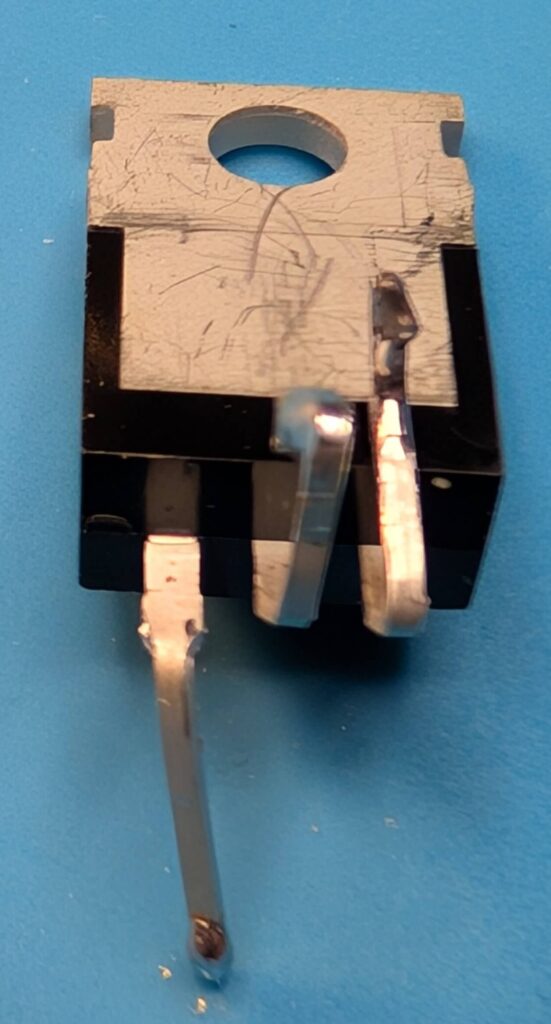
To make soldering easier, bend the legs of the MOSFET like this:
Then, solder the MOSFET to the potentiometer and connect the rest of the components using wires. Make sure everything is secure and properly insulated.
Testing the Blower
After assembling everything, it’s time to test your fume blower. Plug in the power supply, turn the potentiometer knob, and watch the fan do its magic! Here’s a snapshot of mine in action, blowing fumes away like a pro:
Final Thoughts
This DIY fume blower has become a must-have on my workbench. Not only does it keep the air clean, but it’s also a fun and practical project that can save your health in the long run. Whether you’re soldering for hours or just occasionally, this little device is a game-changer.
So, what are you waiting for? Gather your components, download the 3D files, and start building your own soldering fume blower today. Your lungs will thank you!


